Saturday, September 17, 2011

Chocolate Chip Cookie Dough Pie

This is the moment you have all been waiting for.... yes, I am unleashing the recipe to my famous chocolate chip cookie dough pie. For a long time I was keeping the recipe a secret, but I was feeling generous and you all deserve this one :)

Ingredients:

1- 18 oz. tube refrigerated chocolate chip cookie dough
2- 8 oz. packages cream cheese
2 eggs
1/2 cup sugar
5- 1.4 oz. Heath bars (or any chocolate covered toffee candy)

1. Allow cream cheese and cookie dough to soften at room temperature; allow to sit on counter for about 20 minutes

2. Preheat oven to 350 degrees.

3. Press cookie dough into an ungreased 9 inch pie plate using the back of a spoon and/or your thumb.


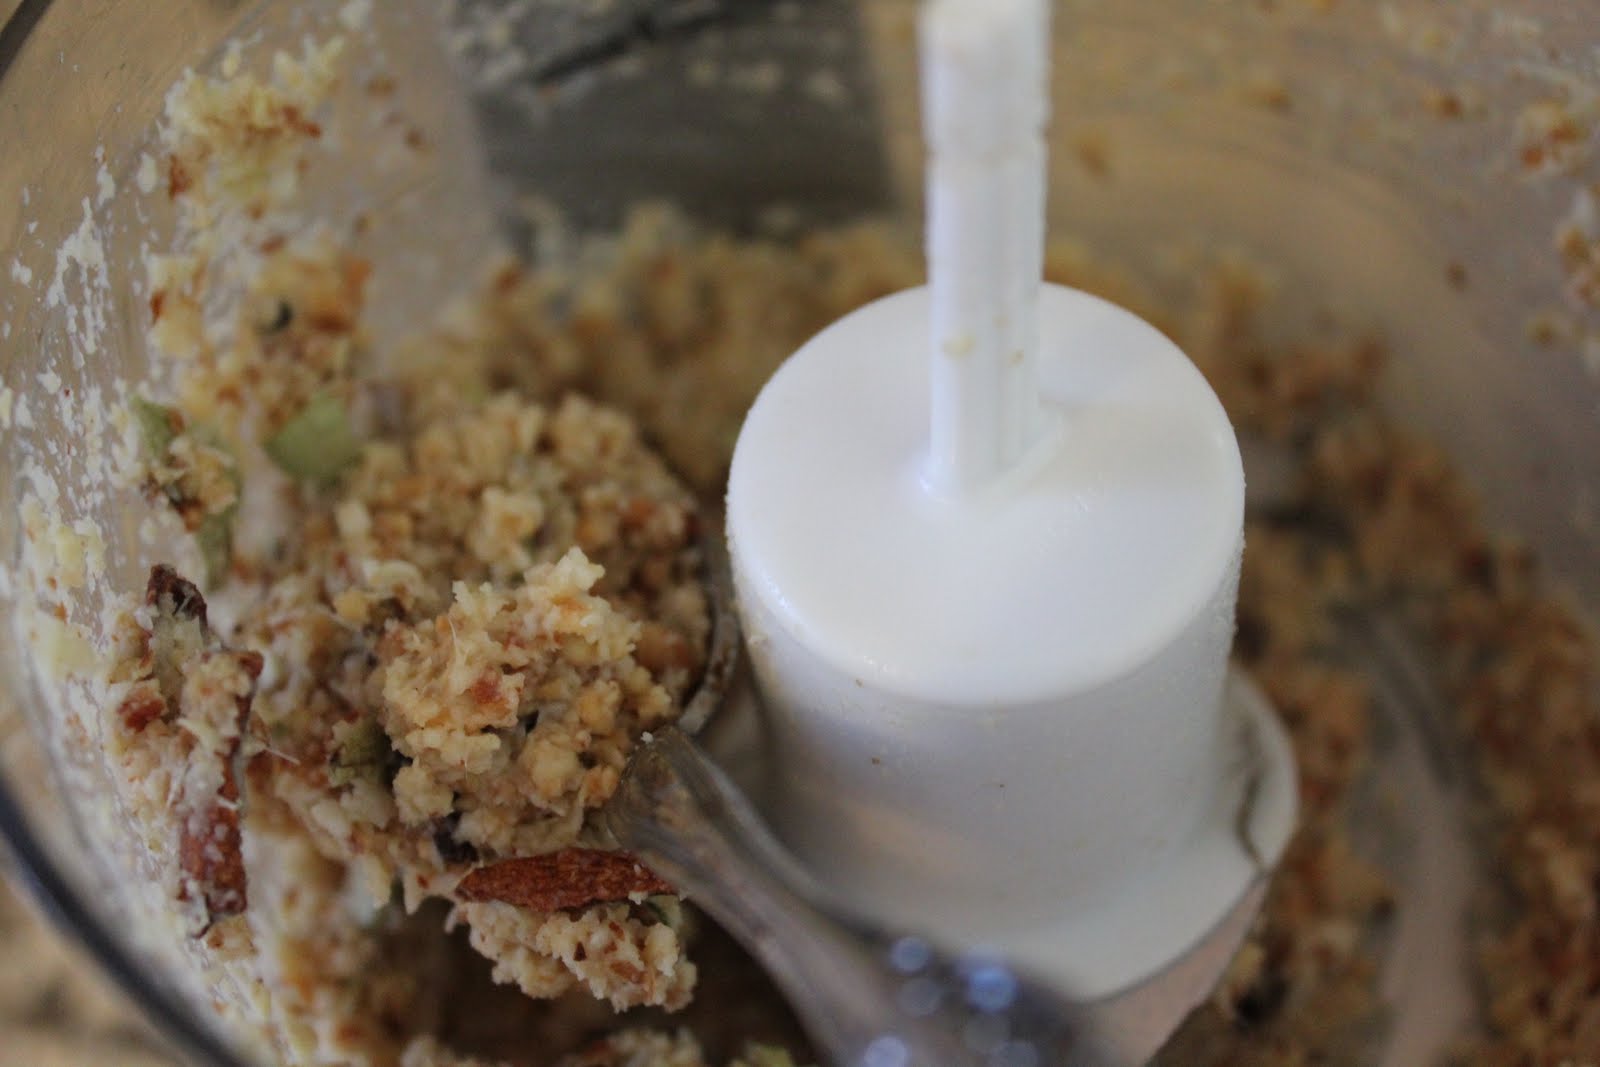
4. Crumble Heath bars by breaking them with your fingers, or by lightly pulsing in a food processor, or by smacking it with a rolling pin while still inside the individual wrapper. Keep three Heath bars separate from the other two. You can also buy already crumbled Heath bars from the baking isle but they are more expensive.


5. In a large bowl, combine cream cheese, eggs, sugar, and 3 crumbled Heath bars. Pour over top of cookie dough and spread evenly.


6. Bake uncovered for 30 minutes.

7. Sprinkle top with remaining two Heath bars.

8. DO NOT attempt to eat this before it is thoroughly chilled; you will be disappointed if you do. It is to die for when it is chilled. Keep refrigerated for at least 4 hours. I always make this the night before a party or in the early morning.


Enjoy! Serve with whipped cream; my husband can't eat this without it.


Saturday, August 27, 2011

Meat Loaf


This was my first time actually making meat loaf. I was a little worried because I was making it for a dinner party, and I usually try to avoid making things for the first time when I'm having company. But I needed a side to go along with my chicken pesto pasta, garlic bread, and salad. It turned out to be delicious! The blended vegetables kept it very moist and full of flavor; its definitely a keeper. This recipe is from Alton Brown, from the Food Network.


Ingredients:

baking tray
parchment paper
meat loaf pan
6 ounces garlic-flavored croutons (or about 1 1/2 cups of Italian seasoned bread crumbs)
1/2 teaspoon ground black pepper
1/2 teaspoon cayenne pepper
1 teaspoon chili powder
1 teaspoon dried thyme
1/2 onion, roughly chopped
1 carrot, peeled and broken
3 whole cloves garlic
1/2 red bell pepper
32 ounces ground beef (about 2 pounds)
1/2 teaspoon kosher salt
1 egg

For the glaze:
1/2 cup ketchup
1 teaspoon ground cumin
Dash Worcestershire sauce
Dash hot pepper sauce
1 tablespoon honey


1. Heat oven to 325 degrees F.

2. In a food processor bowl, combine croutons, black pepper, cayenne pepper, chili powder, and thyme. Pulse until the mixture is of a fine texture. Place this mixture into a large bowl.


3. Combine the onion, carrot, garlic, and red pepper in the food processor bowl. Pulse until the mixture is finely chopped, but not pureed.


4. Combine the vegetable mixture, ground beef with the bread crumb mixture. Season the meat mixture with the kosher salt. Add the egg and combine thoroughly, but avoid squeezing or overworking the meat. This will keep the meat moist and tender.

5. Line a baking tray with parchment paper. Parchment paper is very different from wax paper. I learned this the hard way.

6. Pack this mixture into a 10-inch loaf pan to mold the shape of the meatloaf. If you don't have a meat loaf pan, you can just mold the beef into a rectangular loaf or mound using your hands.


7.  Turn the meatloaf out of the pan onto the center of the baking tray (The pan is basically there to make the shape).


8. Place baking tray on top rack in the oven. Fill a large glass bowl halfway with warm water and place on the rack directly below the baking tray. The evaporating water will keep the meatloaf moist and prevent it from cracking.

8. Combine the ketchup, cumin, Worcestershire sauce, hot pepper sauce and honey. Brush the glaze onto the meatloaf after it has been cooking for about 10 minutes.


9. Bake for a total of 50-55 minutes.

10. Remove from oven, allow to slightly cool, and serve with any leftover glazing sauce. Enjoy!

Saturday, August 20, 2011

Dr. Z's Famous Banana Bread

Don't know what to do with your over-ripened bananas? DO NOT throw them away! This is a perfect recipe you can use to get rid of those almost-black-bananas, and its perfectly healthy. The more ripe a banana is, the sweeter it is.


Ingredients:

5 1/3 tbsp butter, melted
1 large egg
3/4 cup sugar
3-4 medium large ripe bananas
1 tsp vanilla extract (alcohol free or imitation vanilla extract)
1 1/2 cups flower (I use whole wheat flour)
1 tsp baking soda
pinch of salt

optional: chopped pecans or walnuts, raisins, chocolate chips, and/or coconut flakes, about 4-5 tablespoons each

1. Grease a bread loaf pan or a 9" x 13"baking dish.

2. Preheat oven to 350 degrees.

3.  Blend bananas in a food processor, or mush thoroughly using a fork.

4. Mix together the butter, egg, sugar, bananas, and vanilla extract.

5. Mix in the rest of the ingredients. I usually use pecans, chocolate chips, and coconut flakes. Mix well.


6. Pour into baking pan and bake for 45 minutes or until center comes out clean when checked with a knife.

7. Let it cool, cut, and enjoy!

I love eating it warm so the chocolate is gooey, so I warm-up my slice in the microwave before eating. Great with tea or coffee!


Saturday, August 13, 2011

Pineapple Dessert

Easiest dessert you will ever make, hands down.


Ingredients:

1 can crushed pineapple
1 packet halal pineapple jello (Ahmed or Laziz brand from local halal market)
1 can sweetened condensed milk
3 tbsp sour cream
whipped cream for garnish

1. Prepare jello, following directions on the box (Boil 2 cups of water, mix in jello packet, stirring frequently, pour in another dish, and let it set).

2. Once jello has set, mix with a whisk until it is broken into tiny pieces.

3. Strain the crushed pineapple, removing most of the syrup and juices. It is ok to leave a few drops for sweetness and flavor.

4. Mix jello, pineapple, 2/3 can sweetened condensed milk, and sour cream in serving dish.

5. Serve chilled. Top with whipped cream.


Saturday, August 6, 2011

Tomato Chicken Curry


Ingredients:

1 whole chicken, skinned and cut into small pieces,
5 large tomatoes
2 green chilies, thinly sliced
2 medium onions, finely diced
1 tsp cumin seeds
1 tsp coriander powder
1 tsp turmeric
1 tsp red chili powder
1 1/2 tsp salt
1 tbsp garlic paste
1 tbsp ginger paste
1/4 cup oil


1. Rinse chicken in strainer and let water drain.

2. Place tomatoes in a large pot and fill with water. Boil tomatoes for about 6-7 minutes, until skin starts to peel off. Once boiled, remove from hot water and cool in a bowl of ice water

3. Heat oil in another large pot. Add cumin and fry on medium for 2-3 minutes.

4. Add the garlic and ginger paste, and fry for 2-3 minutes. Stir frequently. If the paste starts to splatter, lower heat.

5. Add turmeric, red chili powder, and coriander powder, and fry for an additional 2-3 minutes while stirring frequently.

6. Add diced onions and sliced green chilies. Allow to fry until onions are translucent, about 5-6 minutes. Keep stirring occasionally.

7. Remove skin from tomatoes and blend in a blender.

8. Add chicken to the frying onion mixture and stir fry for about 2-3 minutes while stirring.

9. Add the tomato paste and cook on medium-high heat for about 10 minutes.

8. Add salt. Simmer for another 10 minutes, or until chicken is well cooked and tender.

9. Garnish with coriander and serve with rice or roti.


Saturday, July 30, 2011

Julia Child's Kitchen


Watching Julie and Julia is what inspired me to start this blog. I had been thinking for a very long time that I needed a hobby. I needed to find something that I loved to do, and master it. I had interest in sewing, photography, cooking, and interior design. I had some experience with a little bit of each, but I knew I had to pick one and stick with it. On a rainy day, I was home alone, and I decided to finally watch Julie and Julia. I had to wait until I was home alone because the husband would have refused to watch it, or if he did watch it with me, he would have made smart comments throughout the movie, and therefore ruin it for me.

While watching the movie a light bulb lit up. I already like cooking, and I kind of have to cook anyways, so why not blog about it while I try out new recipes and share the wealth with others? I could also use my nice camera to take pictures of my creations! Voila! For the next week I walked around the house saying "bon appetit" in a really high pitched voice.

On my birthday, the husband took me out for crepes (yum!) and then said he had to show me something at a museum in D.C. I was perplexed as to what he could show me; I had already seen the Hope Diamond and the Islamic Art exhibit. We went to the Museum of American History; he took me there to see Julia Child's kitchen!


Julia Child's Cuisinart Blender


Julia's pots and pans collection


Julia recorded a few of her cooking shows right from her very own kitchen.


I need one of these! Julia Child had a peg board in her kitchen to hang her collection of copper pots and pans, which she brought from France. She outlined them with marker to show anybody who used them where they should be returned. 


It was interesting to see the kitchen of the person who inspired Julie to start her blog, which in turn, inspired me to start mine. 


Wednesday, July 27, 2011

Grilled Chicken and Turkey Bacon Paninis

This is by far my favorite dish to make, and my husband's favorite dish to eat.

Ingredients:

1 loaf artisian bread (I use sourdough,  ciabatta, or Italian bread)
1 pound chicken, grilled 
6 strips of Turkey bacon, fried
1 block of pepper jack cheese, cut into thin slices
2 red bell peppers, cut into thin slices
fresh basil leaves
olive oil


1. Preheat panini griddle to medium heat.

2. Slice the bread diagonally with a large knife. This way you get more surface area with your bread and your slices are bigger. Cut them about 3/4 of an inch to 1 inch thick. When you buy the bread from the bakery section you can also ask them to slice the bread for you. They have a machine that will cut it into nice, thin slices for you.


3. Pair two pieces of bread together, and decide which side of the bread will be on the outside of the panini. Brush that side of the bread lightly with oil. This will be the side that will touch the griddle.


4. On the bottom slice, lay down a slice of pepper jack cheese, then chicken, then basil, and then a few slices of red bell pepper.

5. Place the second slice of bread on top. The oiled side should be facing up. 

6. Repeat steps 2-5, replacing chicken with turkey bacon.


7. Place two paninis on hot griddler. Close down the top of the griddle using the handle. Push down carefully and firmly for 30 seconds.


8. Allow to cook for about 3-5 minutes, or until golden brown and you see gorgeous grill lines on the bread. 

9. Remove from griddle and let cool, then enjoy! 


Tips:

1. Grilling the chicken and making the paninis all in the same day are a little time consuming. Try to cook the chicken the day before. 

2. Paninis are meant to be thin. Do not overload them with ingredients; choose 3 items tops to fill your panini. You are not making a sub. I would recommend choosing one type of cheese, one type of meat, and a vegetable (such as tomatoes, spinach, or bell pepper).

3. You can use your favorite cheese, but I find that pepper jack cheese tastes the best and really adds a lot of flavor to the panini.

4. Basil is also a key ingredient, the flavor pops in your mouth.


Friday, July 22, 2011

Manchurian Cauliflower

This is the first time I cooked Cauliflower in three and a half years. My husband isn't a big fan of veggies, and his father and grandmother don't touch Cauliflower because, well, it gives you gas! So I never bothered cooking it.

The other day I was really missing my mom, and I had a sudden craving for her delicious Manchurian Cauliflower. My dad was coming over for dinner and I decided, what the heck, I'm going to make it, and if nobody else wants to eat it, so be it! Lo and behold, everybody at the table ate it, and it was gone within minutes.

Cauliflower is high in fiber and Vitamin C, and is known to have compounds that inhibit cancer cell growth.


Ingredients:

1 head cauliflower
1 bunch spring onions, chopped
1 green bell pepper, chopped
3 green chilies, sliced
2 Tbsp corn starch
2 Tbsp soy sauce
2 eggs, beaten
1 Tbsp vinegar
1/2 packet Shaan Chicken BBQ mix
2 Tbsp garlic paste
1 Tbsp ginger paste
oil, enough to fill a deep frying pan or deep fryer

For sauce at the end:
2 Tbsp soy sauce
4 Tbsp garlic and chili sauce
4 cloves garlic, thinly chopped


1. Snap or cut cauliflower into florets.


2. Bring a medium pot of water to a boil, and slowly pour over cauliflower in a strainer.

3. Heat oil in a deep frying pan. I used my Cuisinart deep fryer.

4. In a large bowl, mix together corn starch, eggs, vinegar, Shaan mix, and garlic and ginger paste.

5. Add the cauliflower into the mixture. Make sure all surfaces are covered.

6. Fry the cauliflower on medium heat for 2-3 minutes. Then turn the heat to high and fry until golden brown, about 4-5 minutes. Fry the cauliflower in batches, you do not want to crowd the frying pan or deep fryer. Set cauliflower on a paper towel to absorb the extra oil.


7. In another pot, heat 1/4 cup oil. Add green bell pepper, green chilies, soy sauce, and garlic chili sauce. Saute for 3-4 minutes.

8. Add in the cauliflower and and green onions.

9. Remove from heat and garnish with coriander.


Friday, July 8, 2011

Badami Chicken

Badaam means almond. This chicken curry gets its richness from almonds, cashews, and coconut milk. Nothing says South India like those 3 ingredients.


Ingredients:


1 whole chicken, skinned and cut into small pieces
1 cup plain yougurt
1 onion, chopped
1" piece of ginger
10 cloves garlic
6 cloves
2" piece cinnamon
15 almonds
4 cardamoms
15 cashews
1 cup coconut milk
1/4 cup oil
1 tsp turmeric powder
2 tsps alt
2 tsps red chilli powder
coriander leaves for garnishing


The night before:

1. Blend ginger, garlic, cloves, cinnamon, cardamoms, cashews and almonds in food processor until it becomes a paste. There may be some pieces of cardamom that refuse to be blended.  


After work:


2. Heat oil in a large pot.


3. Add the chopped onions and fry until they turn golden.


4. Add the ground nut paste and fry well.


5. While frying this paste, add 3-4 tbsps of water.


6. Add yogurt and the chicken.


7. Add salt, turmeric, and chili powder. Cook for 10 minutes.


8. Add coconut milk and cook till done.


9. Garnish with coriander leaves. Serve with white rice or naan.


Wednesday, May 11, 2011

Magic Raspberry Cookie Bars


Call me an aunty, but I love pecans! From butter pecan ice cream to desserts with pecans to salads topped with pecans, I think it makes (almost) anything taste delicious. The pecans and coconut flakes make this the ultimate uncle/aunty dessert.


Ingredients:

2 cups keebler graham cracker crumbs
1/4 cup sugar
1/2 cup margarine or 1/2 cup butter, melted
1 (14 ounce) can sweetened condensed milk
1 1/4 cups red raspberry preserves
1 1/3 cups flaked coconut
1 cup chopped pecans or 1 cup walnuts


1. In a small bowl, combine crumbs and sugar. Add butter, Toss until combined. Press onto bottom of 13x9" baking pan.


2. Evenly drizzle the sweetened condensed milk over crumbs. Refrigerate for 10 minutes. 


3. Spoon preserves over top. The original recipe calls for seedless raspberry preserves, but I couldn't find seedless at the store. I think the seeds added a nice texture and crunch to the bars.


4. Sprinkle evenly with coconuts and pecans. 


5. Bake at 350 degrees for 25-30 minutes or until lightly brown.

6. Cool completely and cut into bars. Store, loosely covered, at room temperature.
(Recipe was taken from the back of Keebler's graham cracker crumbs box.)


Wednesday, May 4, 2011

Peanut Butter and Nutella Bars

The original recipe from Ina Garten is called Peanut Butter and Jelly Bars. But I don't even like PB & J sandwiches. So I thought, what goes really well with peanut butter? Chocolate! And what's the perfect gooey chocolate spread that I can use for the center of my bars? Nutella!

Ingredients:

1/2 pound (2 sticks) unsalted butter, at room temperature
1 1/2 cups sugar
1 teaspoon pure vanilla extract (you can buy imitation vanilla extract without alcohol)
2 extra-large eggs
2 cups (18 ounces) creamy peanut butter (recommended: Skippy)
3 cups all-purpose flour
1 teaspoon baking powder
1 1/2 cups (18 ounces) Nutella
2-3 Heath Bars


1. Preheat the oven to 350 degrees F.

2. Grease a 9 by 13 by 2-inch cake pan. Line it with parchment paper, then grease and flour the pan.

3. In the bowl of an electric mixer fitted with the paddle attachment, cream the butter and sugar on medium speed until light yellow, about 2 minutes. I couldn't find the electric mixer attachment to my hand held mixer, so I just used the blender attachment.


4. With the mixer on low speed, add the vanilla, eggs, and peanut butter and mix until all ingredients are combined.


5. In a small bowl, sift together the flour, and baking powder. With the mixer on low speed, slowly add the flour mixture to the peanut butter mixture. Mix just until combined.

6. Spread 2/3 of the dough into the prepared cake pan and spread over the bottom with a knife or offset spatula.


7. Spread the Nutella evenly over the dough.

8. Drop small globs of the remaining dough evenly over the Nutella. Don't worry if all the Nutella isn't covered; it will spread in the oven.


9. Sprinkle with crumbled Heath bars and bake for 45 minutes, until golden brown. Cool and cut into squares.


Friday, April 29, 2011

Sweet and Spicy Green Beans

These Chinese style green beans have a secret ingredient: honey. We know the importance of honey in the Sunnah; the Prophet (s) loved honey, and he used it to cure many ailments including stomach illness. He advised a man who had stomach issues to take honey. The man returned to him and told him that his stomach was still hurting, and the Prophet was so confident in the healing power of honey that he told the man that his stomach was lying to him. I was also told that eating local honey (honey made from bees in your local area) is a great way to build your immune system against local allergens. I try to eat a teaspoon of honey everyday. I really feel the difference when I eat it consistently. I use honey instead of syrup on my waffles, and I sometimes put honey in my tea. When I have a sore throat, I take a spoon full of honey with a couple drops of lemon juice and sprinkle a little black pepper on top. My brother unpeels a whole banana, puts it on a plate, and drizzles it with honey and eats it with a fork!

My husband, on the other hand, still needs to warm up to honey. When he was sick, I used to have to shove the spoon in his mouth in order for him to take honey. I got the Sue Bee Pure Clover honey from Sam's club and he seems to like it a lot better. The texture is not as thick and viscous as other honey. If you don't like the taste or texture of honey, this is a great way to hide it in your food, and it adds a nice flavor!

Ingredients:

Green beans, washed
1 medium red onion, thinly sliced
2 tbsps honey
2 tbsps soy sauce
2 tbsps of your favorite hot sauce (I used chili garlic sauce)
2 tbsps olive oil
1/2 tbsp garlic ginger paste

1. Set a pot of water to boil. Cut the stems off the green beans and cut them in half. Boil green beans for 15 minutes.

2. Meanwhile, heat oil in a medium pot or frying pan. Fry garlic and ginger paste and onions until onions are translucent.

3. Drain green beans and add to onions. Add in the other sauces and honey and cook on medium for another 10 minutes, or until green beans are tender. I don't like to cook green beans until they are too soft and mushy, I like them to have some firmness to them.


Monday, April 25, 2011

Pesto Chicken Pasta


I love basil! Basil has such a strong aroma and adds an amazing kick to anything you put it in. You can add it to salads, put it in paninis, and garnish pasta. This was my first time making pesto chicken pasta and I just knew that I would fall in love with it because this recipe uses basil as one of the main ingredients for the pasta sauce.


Ingredients:

1 pound of grilled chicken cubes, from previous post
2 cups rinsed basil
1/2 to 1 cup pine nuts (or walnuts)
4-5 cloves garlic
3/4 cup grated Parmesan cheese
3/4 tbsp salt 
2 cups olive oil
1 box Penne pasta, whole grain
optional: 2 green chillies and some red chili powder


The night before:

1. Grill 1 lb boneless chicken and cut into small cubes if you haven't done so already from the previous recipe. While the chicken is grilling, move on to the next step.

2. Heat a frying pan over medium heat and lightly toast the pine nuts until they are golden. Pine nuts are expensive, so you may also use walnuts, although I've never tried it. Stir frequently. Don't walk away from the nuts while they are toasting. I always make that mistake and I end up burning them. 

3. Blend together basil, pine nuts, and garlic cloves in a food processor. The basil already adds a zesty flavor to the sauce, but for an extra kick, blend in 2 green chillies and 1/2 tsp red chili powder. Don't worry, it doesn't make the sauce too spicy.

4. Add the Parmesan cheese, salt, and some of the olive oil; blend well. Keep adding the olive oil little by little and blending to the consistency you like. If you want a thinner sauce, add more oil. You shouldn't have to use the entire 2 cups, I used only about 1 cup.


5. Save chicken and pesto sauce in separate containers and place in the refrigerator overnight.


After work:

6. Boil the *whole grain* Penne pasta, following the directions on the box. If you haven't tried whole grain pasta, you can barely taste the difference from white-flour pasta. I used Barilla whole grain pasta. Higher in fiber, lower in carbs.

7. In a pot over the stove, mix pasta with pesto sauce, adding only a little at a time until pasta is well covered in sauce. Warm up chicken and mix in to the pasta. Serve warm and enjoy!


8. You should have plenty of pesto sauce left over. You can save it in the refrigerator for later on in the week, or keep it in the freezer for next month. I used less than half of the sauce that was made with this recipe.